

Introduction
Discover the Secrets to Vault Storage Backend Migration: From Consul to Integrated Storage (RAFT)
Are you curious about how to perform a Vault backend migration? You’re not alone! Many organizations still rely on older Vault and Consul versions for their backend storage, but it’s time for an upgrade. In this exclusive blog post tutorial, I’ll walk you through a step-by-step process of migrating from a Vault cluster running v0.10.2 and Consul v0.9.3 to Vault v1.3.2 with Integrated Storage.
Say goodbye to outdated storage backends and hello to a more efficient and secure Vault experience! But wait, there’s more! This blog post is just a taste of what you’ll learn in my latest course, HashiCorp Vault 202 for Operators. If you’re serious about mastering Vault in production, this course is a must-have.
Introduction
Video
Below is a video explanation and demo.
Video Chapters
p class=”has-text-align-start”>You can skip to the relevant chapters below:
Pre-Requisites
You can run everything in GitHub’s codespaces. Just start a new codespace from the GitHub repo.
Introduction
HashiCorp Vault supports multiple storage backends. However, only the Consul storage backend and the Integrated Storage (RAFT) storage backend are the officially supported ones. Integrated Storage came later than Consul and is the recommended storage backend for HashiCorp Vault today.
Many people often ask how to migrate Vault’s storage backend from using Consul to Integrated Storage (RAFT). In this blog post, we will walk you through a step-by-step process of migrating from a Vault cluster running Vault version v0.10.2 and Consul v0.9.3 to a Vault cluster running Vault version v1.3.2 with Integrated Storage. This tutorial is based on a video from my course, HashiCorp Vault 202 for Operators. If you’re interested in learning how to properly operate Vault in a production environment, I highly recommend checking out this course.
HashiCorp Vault Storage Backend Migration Steps
To migrate from Vault with Consul backend to Vault Integrated Storage, follow these steps:
- **Take a Consul snapshot: **Always start by taking a snapshot of your Consul data as a backup.
- **Create a new Vault config file: **Prepare a new configuration file for your Vault instance with Integrated Storage.
- **Create a migration config file: **This file will be used to run the migration command.
- **Stop the Vault server: **Stop the Vault server that is part of the Consul setup.
- **Run the migration command: **Use the new Vault binary to execute the migration command.
- **Run Vault with the new RAFT data store: **Start the Vault server with the new Vault binary and the new Integrated Storage backend.
- **Check your data: **Verify that the data has been migrated successfully.
- **Take a RAFT snapshot: **Create a snapshot of the new RAFT data store.
- **(Optional) Restore the RAFT snapshot: **You can restore the RAFT snapshot to a newly created Vault production instance if needed.
Demo
To demonstrate the migration process, we will use a lab environment with Vault and Consul installed. We will follow the guide provided in the Vault 202 course to install the necessary binaries and configure the environment.
After setting up the environment, we will update the Consul configuration file with the correct IP address for the advertise address. Then, we will proceed with the migration steps mentioned above.
{
  "datacenter": "dc1",
  "data_dir": "./data/consul",
  "log_level": "INFO",
  "bootstrap_expect": 1,
  "node_name": "node1",
  "server": true,
  "advertise_addr": "YOUR_PRIVATE_IP_ADDRESS"
}
Throughout the migration process, we will use Visual Studio Code and Code Spaces to manage the configuration files and execute the necessary commands.
Running Consul and Migrating Vault Data
Starting Consul
Now that we have our environment set up, we need to run Consul. Use the following command:
nohup consul agent -server -config-file=consul.json > consul.log &
Once Consul is up and running on port 8300, we can proceed with creating a Vault configuration file for the Vault cluster with Consul as the storage backend. Copy the storage configuration for Consul and paste it into the new configuration file called vault_config_consul_backend.hcl.
disable_mlock = true
ui            = true
cluster_addr = "http://127.0.0.1:8201"
api_addr = "http://127.0.0.1:8200"

storage "consul" {
  address = "127.0.0.1:8500"
  path    = "vault/"
}

listener "tcp" {
  address     = "0.0.0.0:8200"
  tls_disable = 1
}
Running Vault with the Old Binary
Next, we’ll run Vault using the old binary (vault_old) on port 8200.
nohup vault_old server -config=vault_config_consul_backend.hcl > vault.log &
With Vault up and running, we can now export the Vault address and run the old binary with the operator init command. Save the unseal key and initial root token in a notepad file for later use.
export VAULT_ADDR=http://127.0.0.1:8200
vault_old operator init -key-shares=1 -key-threshold=1
Output:

Unsealing Vault and Creating a Secret
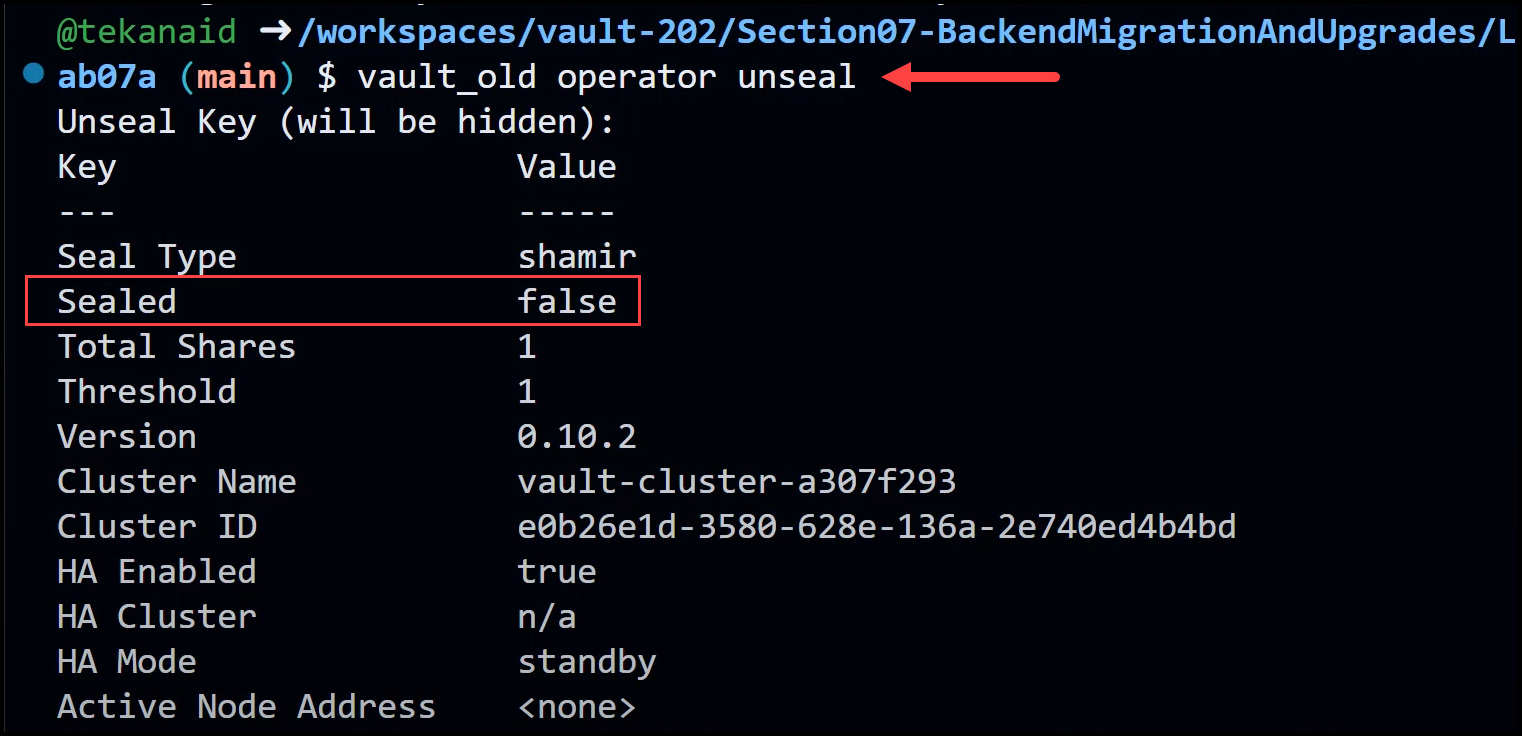
Now, we need to unseal Vault using the old binary and the unseal key.
vault_old operator unseal
After unsealing, export the Vault token and create a test kv secret to ensure that it gets migrated correctly.
export VAULT_TOKEN=
vault_old secrets enable kv
vault_old kv put kv/test foo=bar
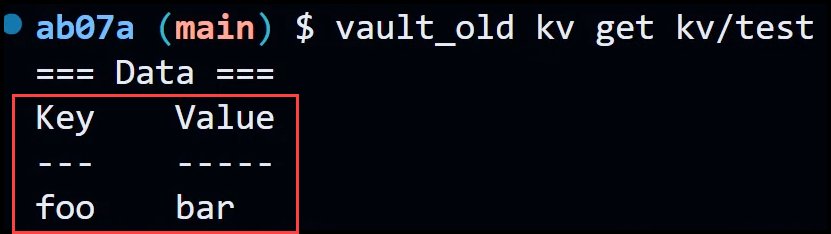
Verify that the secret has been stored correctly.
vault_old kv get kv/test
Starting the Migration Process
With the test secret in place, we can now begin the migration process. First, take a snapshot of the Consul data.
consul snapshot save backup.snap
Next, create a new Vault configuration file with the Integrated Storage (RAFT) backend. Copy the storage configuration for RAFT and paste it into the new configuration file called vault_config_raft_backend.hcl.
disable_mlock = true
ui            = true
cluster_addr  = "http://127.0.0.1:8201"
api_addr      = "http://127.0.0.1:8200"

storage "raft" {
  path    = "./data/vault/"
  node_id = "node_1"
}

listener "tcp" {
  address     = "0.0.0.0:8200"
  tls_disable = 1
}
Creating a Migration File
Now, we need to create a migration file (migrate.hcl) that specifies the source storage (Consul) and the destination storage (RAFT). The cluster address should also be included in this file.
storage_source "consul" {
  address = "127.0.0.1:8500"
  path    = "vault/"
}

storage_destination "raft" {
  path    = "./data/vault/"
  node_id = "node_1"
}

cluster_addr = "https://127.0.0.1:8201"
Stopping the Vault Server
Before running the migration command, we need to stop the Vault server by killing the Vault process. Find the Vault process ID and use the kill command to stop it.
Running the Migration Command
Create a new directory called data/vault for the migrated data.
mkdir -p ./data/vault
Now, run the migration command using the new Vault binary. This command will migrate the data from the Consul backend to the Integrated Storage (RAFT) backend.
nohup vault_new operator migrate -config=migrate.hcl > migrate.log &
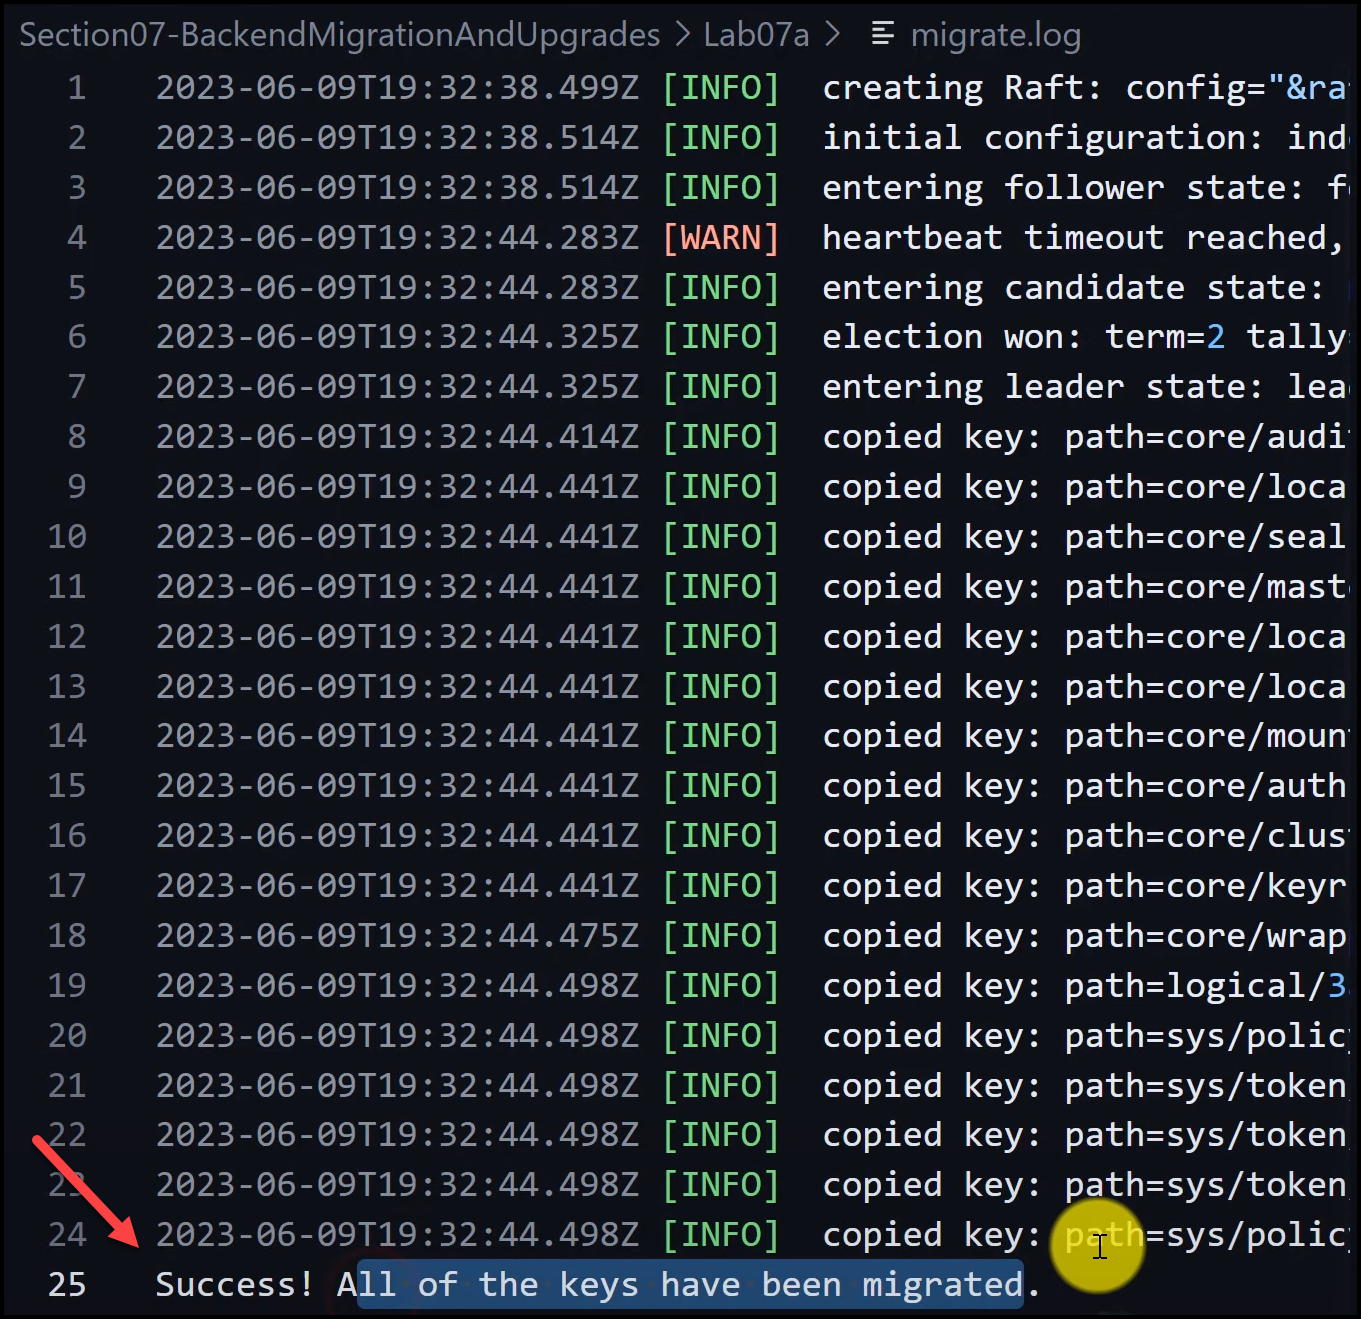
With these steps, you have successfully migrated your Vault data from Consul to Integrated Storage (RAFT).
Verifying the Migration and Taking a RAFT Snapshot
Running Vault with the New Binary
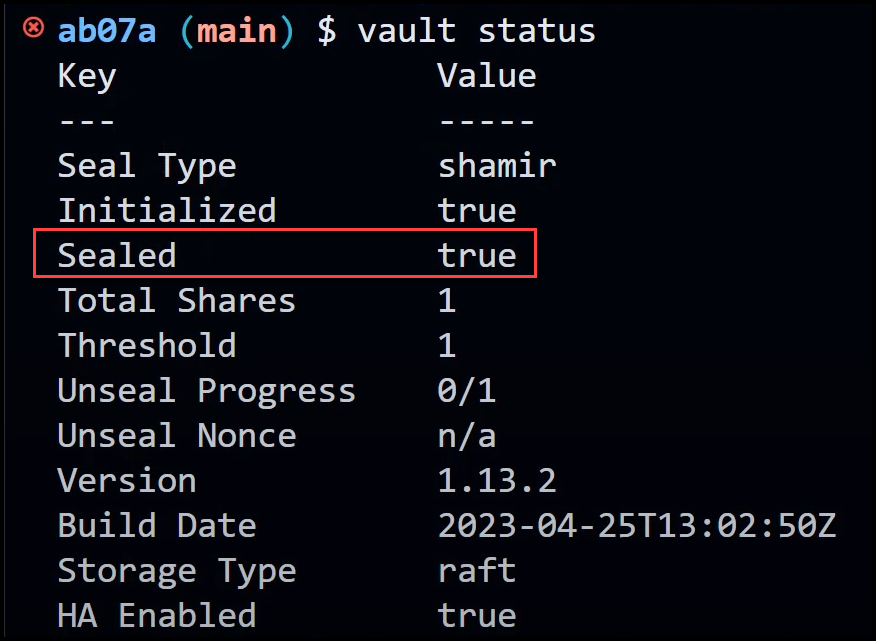
Now that the vault data migration is successful, we need to run Vault with the new binary and the RAFT configuration. Start the Vault process using the new binary and the RAFT backend configuration.
nohup vault_new server -config=vault_config_raft_backend.hcl > vault.log &
Vault should be up and running, but it will be in a sealed state.
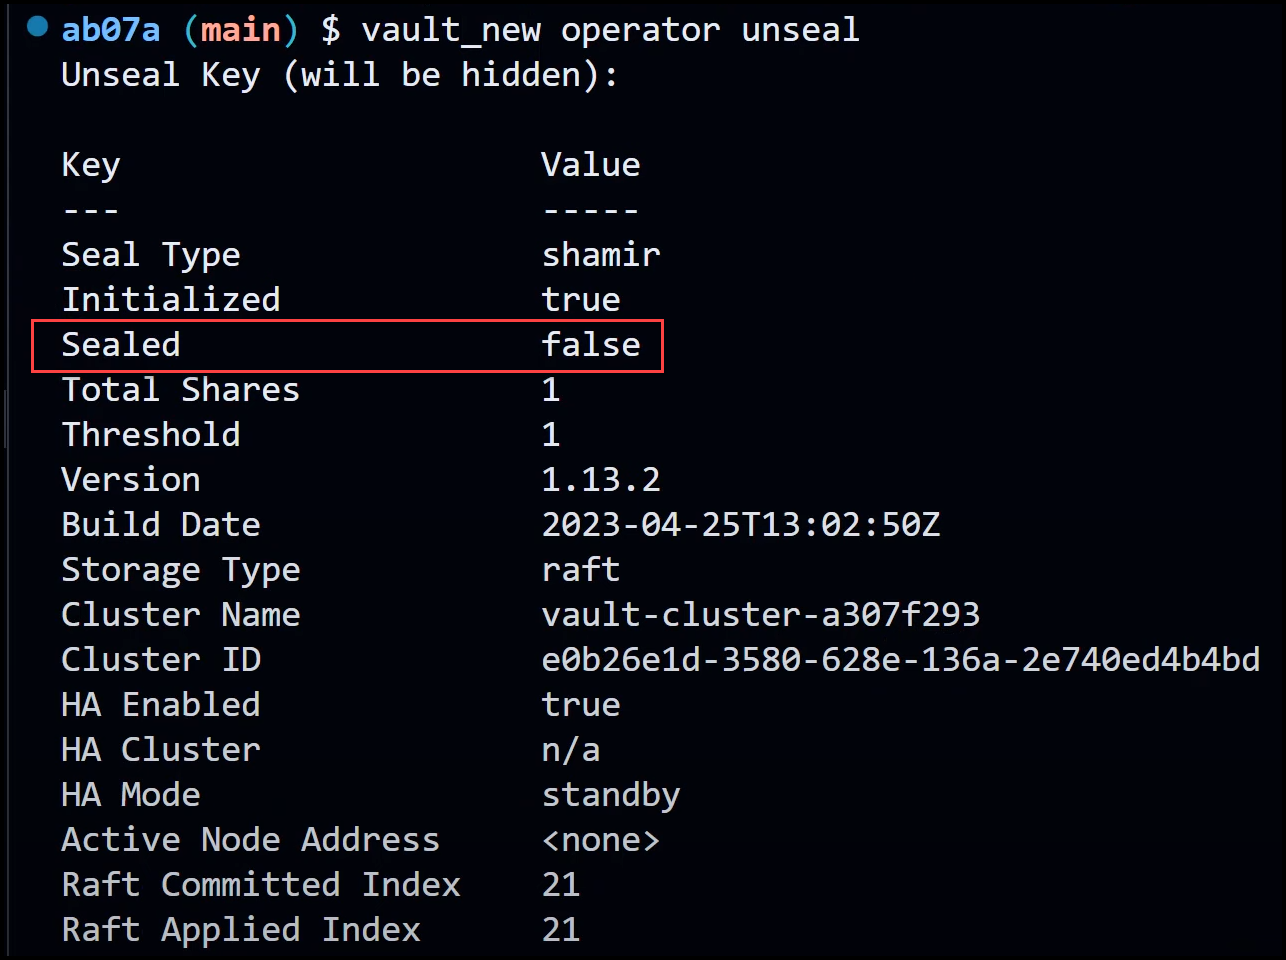
Unsealing Vault with the New Binary
To unseal Vault, use the new binary and the old unseal key from the previous cluster. The Vault root token will also be the same as the one from the old cluster.
export VAULT_ADDR=http://127.0.0.1:8200
vault_new operator unseal
export VAULT_TOKEN=
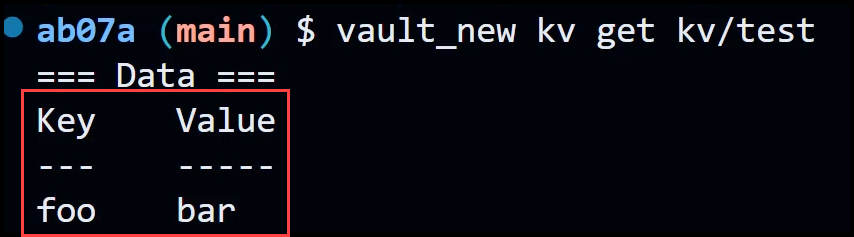
Once Vault is unsealed, you can check the secret that was stored before the migration to ensure that it has been migrated successfully.
vault_new kv get kv/test
Taking a Vault Backup RAFT Snapshot
The final step is to take a Vault Raft Backup snapshot of the migrated data. This snapshot can be used to restore the data to a newly created production cluster, for example, one that is running in high availability (HA) mode.
vault_new operator raft snapshot save backup_raft.snap
To restore the snapshot to a production cluster, you will need to run the vault operator unseal command with the –migrate flag on every Vault node in the Vault cluster one by one and restarting the vault service after each operation.
vault operator unseal -migrate
Closing Remarks
Congratulations on successfully migrating your Vault data from Consul to Integrated Storage (RAFT)! Migrating Vault’s backend storage from Consul to Integrated Storage (RAFT) can be a straightforward process when following the steps outlined in this tutorial. By upgrading your storage backend, you can benefit from the improved efficiency and security offered by Integrated Storage.
If you’re interested in how to automate Vault backup, Vault Enterprise, building a HashiCorp Vault HA cluster in addition to other Vault production topics, don’t forget to check out the HashiCorp Vault 202 for Operators course. It has the following goodies for you:
- Section 1: Course Introduction
- Section 2: Terraform Crash Course
- Section 3: Vault Crash Course
- Section 4: Install a Production Ready Vault OSS Cluster
- Section 5: Automatic Backups
- Section 6: Monitoring
- Section 7: Backend Migration and Upgrades
- Section 8: Managing Namespaces
- Section 9: Replication
- Section 10: The Terraform Vault Provider
- Section 11: Bonus
- Section 12: Closing Remarks and Next Steps
Suggested Reading
- Vault Raft Cluster High Availability Test in AWS
- HashiCorp Vault Monitoring with Prometheus, Grafana, and Loki
- HashiCorp Vault Backup and Restore Raft Snapshots from Kubernetes to AWS S3
- HashiCorp Vault Tutorial for Beginners
- Migrate Secrets from AWS Secrets Manager to HashiCorp Vault with Terraform
Code
Hi and Welcome!
Join the Newsletter and get FREE access to all my Source Code along with a couple of gifts.