

Introduction
The evolution of cloud computing showcases a relentless quest for efficient and simplified management of applications and infrastructure. However, as businesses expand, managing resources across multiple cloud platforms becomes complex. Now, let’s dive into Crossplane.
Picture a maestro, orchestrating the melodious tunes of applications and infrastructure across a vast orchestra of cloud providers. That’s Crossplane for you, in essence. It’s engineered to orchestrate applications and resources across multiple clouds from a single control plane, ensuring each section, be it AWS, Google Cloud, or Azure, plays in harmony. This orchestration is a boon for platform engineering, streamlining the deployment and management processes, and ensuring a harmonious workflow across various cloud environments.
By extending the Kubernetes API, the Crossplane project simplifies cloud infrastructure management, encapsulating complexities with a clear, declarative API. It empowers organizations to encapsulate policies and best practices for consistency and compliance across deployments.
In this blog post, you’ll learn more about Crossplane and the differences between it and Terraform. You’ll also get to provision an S3 bucket with Crossplane as an example.
Video
Below is a video demonstration.
Video Chapters
Unveiling Crossplane
Crossplane emerges as a robust Kubernetes add-on, designed to extend the capabilities of the Kubernetes API to encompass cloud infrastructure management and services provisioning. By doing so, it addresses a significant industry challenge: the orchestration of cloud resources and services through a centralized and standardized interface.
Extending Kubernetes API:
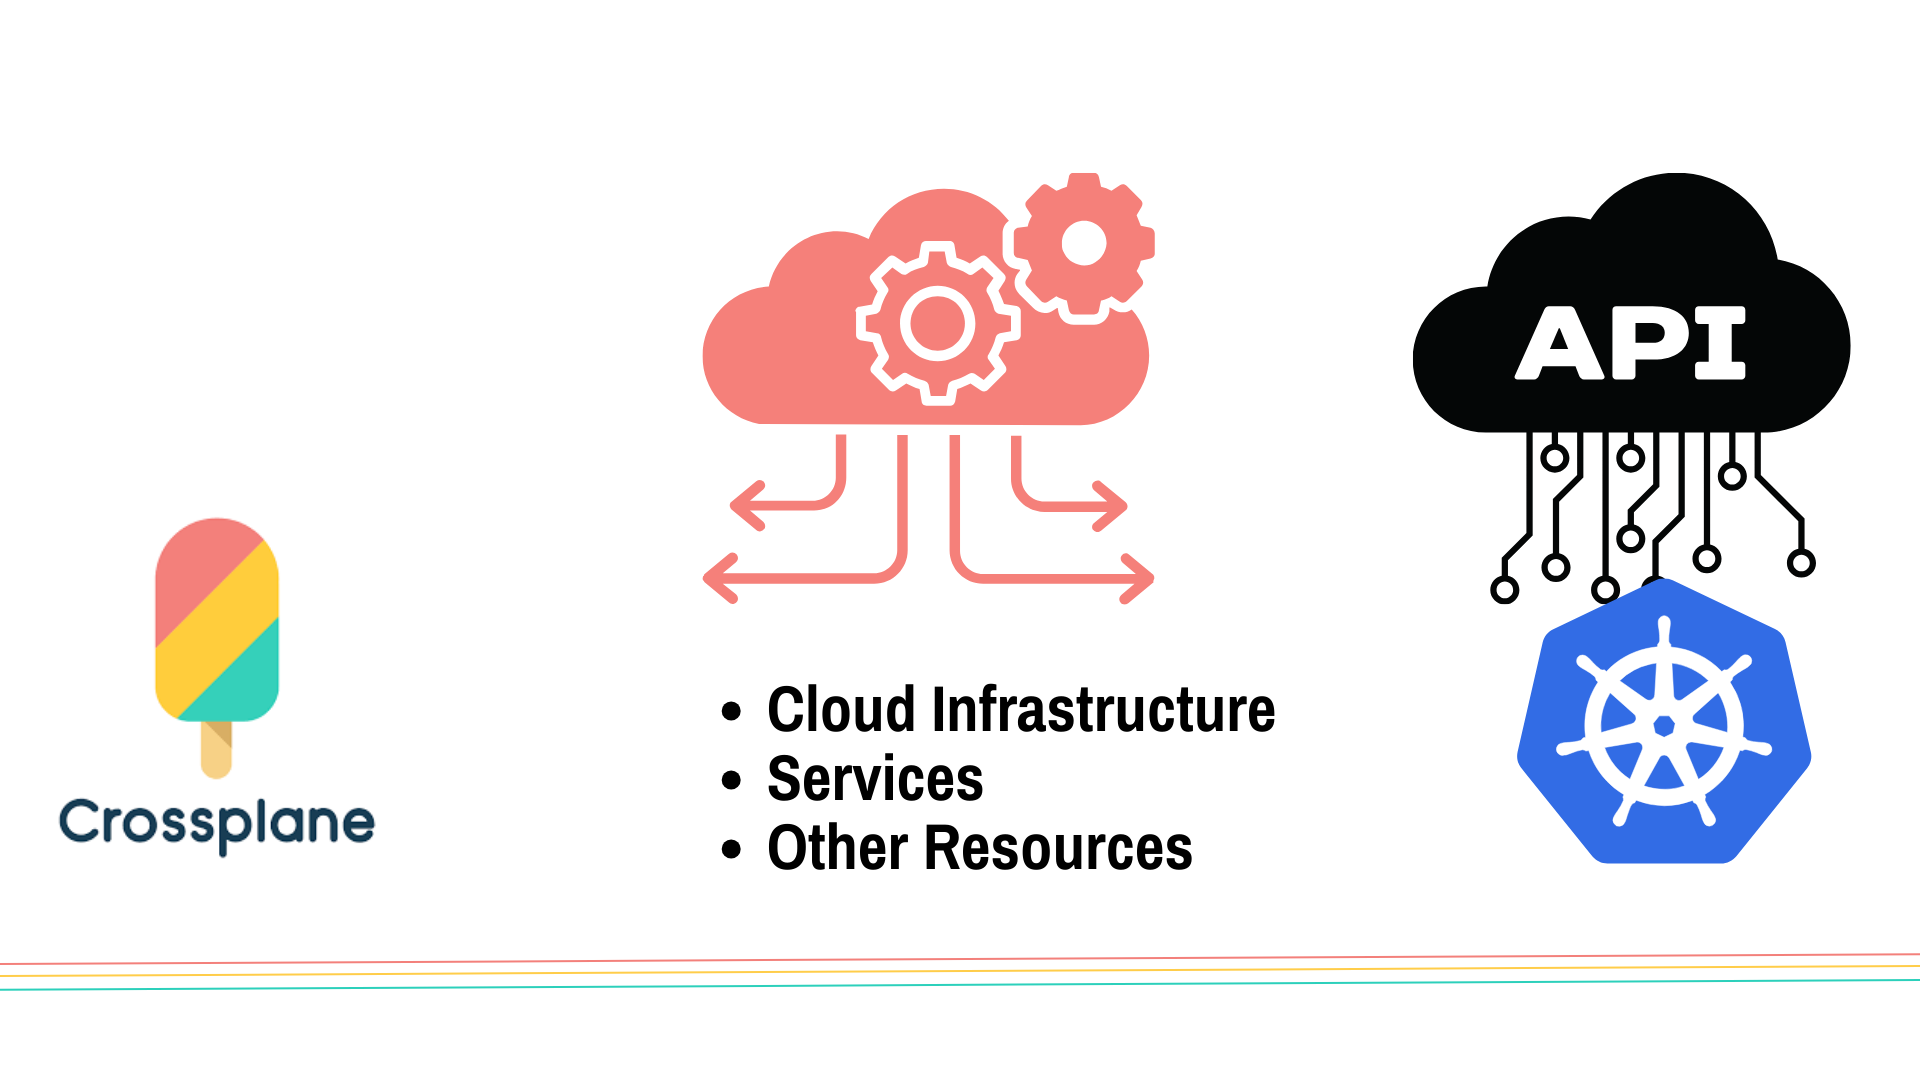
At the heart of Crossplane is its ability to extend the Kubernetes API. This extension allows developers and operators to manage and provision cloud infrastructure and services using the same API they use for deploying and managing their containerized applications. Through Custom Resource Definitions (CRDs), Crossplane introduces new resource types in Kubernetes, representing cloud resources and services from various cloud providers like AWS, Google Cloud, and Microsoft Azure. This unification under the Kubernetes API umbrella enables seamless interaction with cloud resources, making the provisioning and management processes more streamlined and consistent across different cloud environments.
Ease of Management with Configurability
Crossplane makes managing cloud resources as easy as writing code. Its highly configurable frontend is great for platform engineering tasks. It provides a clear API that developers and operators can use easily, hiding the complex details of different cloud providers. This flexibility lets you tailor the user experience to fit your organization’s needs and policies, making cloud management simpler and more efficient.
Transforming Kubernetes into a Universal Control Plane:
The beauty of Crossplane lies in its transformation of Kubernetes into a universal control plane. By leveraging the declarative API model of Kubernetes, Crossplane facilitates the management of cloud resources in a Kubernetes-native way. This is a substantial step forward in infrastructure management, aligning the management of external cloud resources with the well-established practices of managing in-cluster resources in Kubernetes.
In a typical scenario, a developer would define the desired state of cloud resources using the declarative syntax. Crossplane, acting as the control plane, ensures that the desired state is achieved and maintained across different cloud providers. This universal control plane model significantly simplifies multi-cloud infrastructure management, offering a single pane of glass for overseeing the provisioning, connectivity, and operational aspects of cloud resources and services.
Moreover, the universal control plane model fosters a higher level of abstraction in managing cloud resources. Developers can focus on defining the desired outcomes, while Crossplane handles the intricacies of interacting with different cloud providers to fulfill those desires. This not only reduces the operational overhead but also accelerates the deployment and scaling of applications across diverse cloud environments.
Core Components of Crossplane
Crossplane is architecturally designed to function seamlessly with existing ecosystems, primarily Kubernetes, while introducing a set of new concepts and components that work towards simplifying cloud infrastructure management. Take a look at this helpful diagram below from the Crossplane documentation to see the core components of Crossplane. Let’s dissect them next.

Crossplane Components Explained
- Providers: Providers are essentially packages that extend Crossplane’s abilities, enabling it to provision and manage infrastructure on external services. They carry along Custom Resource Definitions (CRDs) and controllers, which translate to external infrastructure resources, ensuring a smooth life-cycle management of these resources.
- Managed Resources: Representing infrastructure primitives, managed resources are Kubernetes custom resources. They offer a representation that aligns well with the respective cloud provider’s infrastructure resources, making it a breeze to manage them right from the Kubernetes environment.
- Composite Resources (XR): A step towards simplifying complex setups, composite resources bundle multiple managed resources into a higher-level infrastructure entity. Defined by a CompositeResourceDefinition, these resources bring in a level of abstraction, helping infrastructure operators manage resources efficiently.
- Compositions: Acting as templates, compositions define how managed resources can be bundled together. They encourage reusability and standardization across different setups, ensuring a consistent approach to defining and managing resources.
- Composite Resource Definitions (XRD): XRDs are your go-to when you need to define the structure and schema of composite resources. They lay down the blueprint for creating and managing composite resources, ensuring they align well with the organizational needs.
- Claims: Claims are somewhat similar to composite resources but are scoped to namespaces. They offer a simpler, user-friendly way to request and manage resources, acting as a proxy to the actual composite resources, making resource management a bit more straightforward.
Comparing Concepts Between Crossplane and Terraform
These components, when pieced together, shape up a powerful framework for managing infrastructure in a Kubernetes-native way. They embody the essence of simplification, abstraction, and reusability, which is the hallmark of Crossplane’s approach to infrastructure management. Let’s now take a look at some examples of these components and compare them to Terraform.
| Concept | Crossplane Example | Terraform Example |
|---|---|---|
| Providers | AWS Provider | AWS Provider |
| Managed Resources | DBInstance CRD for RDS instance | aws_db_instance for RDS instance |
| Composite Resources | XR bundling DBInstance and IAMRole | Modules grouping DB instance and IAM role |
| Compositions | Template bundling DBInstance and IAMRole | Module defining DB and IAM role |
| Composite Resource Definitions | Defining schema for a composite resource | Modules or resource schemas |
| Claims | Claim requesting a database | Configuration file specifying resources |
Example of Concepts with Possible Terraform Equivalents
Crossplane vs Terraform
In the realm of cloud infrastructure orchestration and management, both Crossplane and Terraform emerge as strong contenders. However, they have distinct approaches and capabilities. This section aims to dissect the similarities and differences between these two technologies based on provisioning, management, deployment practices, cloud-native architecture, Infrastructure as Code (IaC), and declarative API usage.
| Aspect | Crossplane | Terraform |
|---|---|---|
| Provisioning | ||
| Method | Kubernetes’ declarative API with CRDs | HashiCorp Configuration Language (HCL) |
| Dynamic Provisioning | Yes, through resource claims and classes | No, requires predefined configurations or modules |
| Management | ||
| Control Plane | Unified under Kubernetes API | Standalone with own state management |
| Automated Healing & Updates | Yes, via Kubernetes control loop | Manual intervention or additional tooling needed |
| Deployment Practices | ||
| Multi-Cloud Deployments | Simplified via abstract resource definitions | Requires separate configurations and additional tooling |
| CI/CD Integration | Seamless with Kubernetes-native approach | Possible, may need third-party plugins or scripts |
| Cloud Native, IaC, Declarative API | ||
| Alignment with Cloud Native Principles | Yes, as a Kubernetes add-on | Pioneered IaC, but isn’t Kubernetes-native |
| Infrastructure as Code (IaC) | Yes, through Kubernetes’ declarative API | Yes, through declarative configurations |
| Declarative API Usage | Kubernetes’ declarative API | Does have a declarative API, will need an enterprise version |
Comparison between Crossplane and Terraform
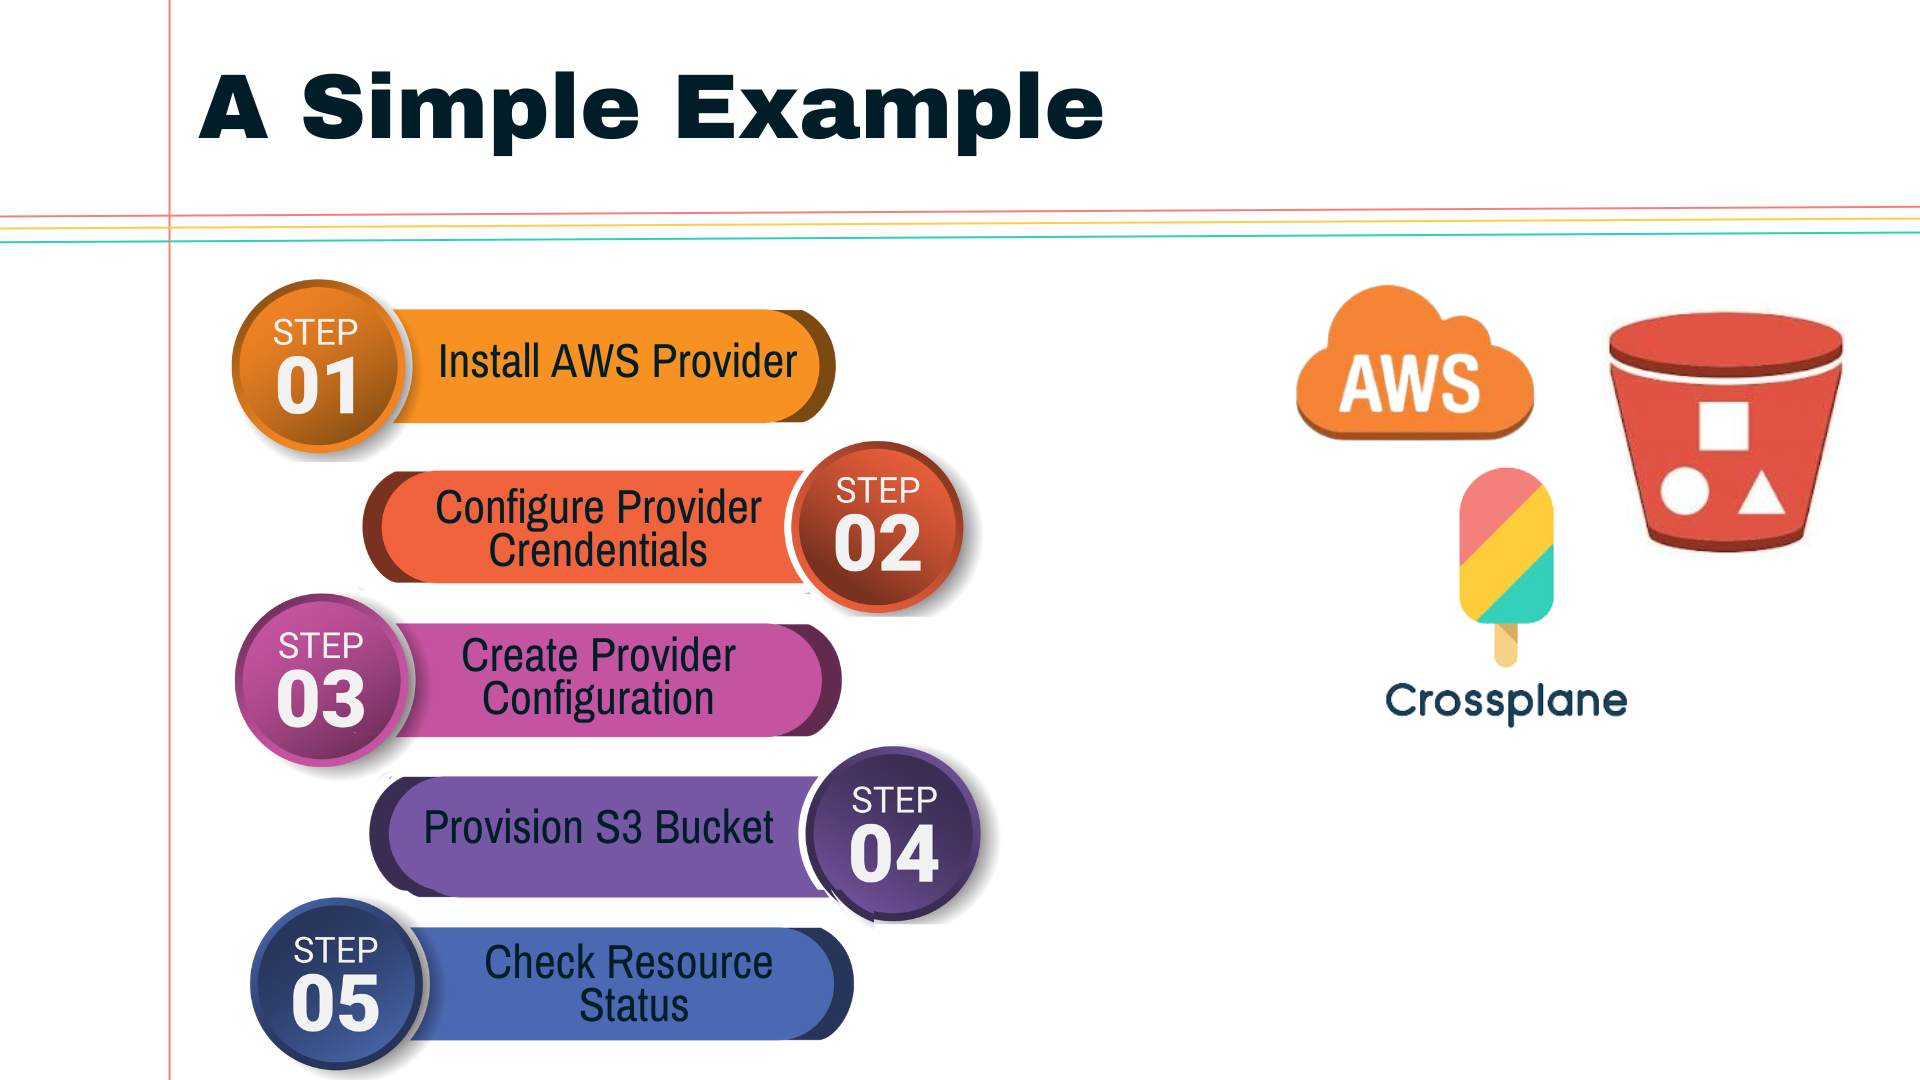
Demo: Creating an AWS S3 Bucket using Crossplane
In this demo, we’ll walk through the process of provisioning an S3 bucket on AWS using Crossplane.
Prerequisites:
- A Kubernetes cluster up and running.
- AWS CLI configured with the necessary credentials.
Step 1: Install Crossplane
Let’s use helm to install crossplane:
helm repo add
  crossplane-stable https://charts.crossplane.io/stable && helm repo update

helm install crossplane
  crossplane-stable/crossplane
  --namespace crossplane-system
  --create-namespace
Check that the pods came up
kubectl get pods -n crossplane-system
Look at the new API end-points with kubectl api-resources
kubectl api-resources | grep crossplane
Step 2: Create a Kubernetes secret for AWS
Rename the aws-credentials-example.txt file to aws-credentials.txt and add your AWS credentials to the file. Make sure you don’t check this file into git.
Now create the secret below
kubectl create secret
  generic aws-secret
  -n crossplane-system
  --from-file=creds=./aws-credentials.txt
here is what the aws-credentials-example.txt file looks like:
[default]
aws_access_key_id =
aws_secret_access_key =
Check that the secret was created:
kubectl describe secret aws-secret
Note that if your AWS creds change, you can delete this secret and recreate it after updating your aws-credentials.txt file. Make sure you don’t check this file into git.
Step 3: Get the AWS provider and provider config ready
Now let’s configure the AWS provider and use the credentials we created.
kubectl apply -f provider.yaml
and here is the manifest:
apiVersion: pkg.crossplane.io/v1
kind: Provider
metadata:
  name: provider-aws-s3
spec:
  package: xpkg.upbound.io/upbound/provider-aws-s3:v0.42.0
---
apiVersion: aws.upbound.io/v1beta1
kind: ProviderConfig
metadata:
  name: default
spec:
  credentials:
    source: Secret
    secretRef:
      namespace: crossplane-system
      name: aws-secret
      key: creds
You now have your Kubernetes cluster ready with Crossplane installed.
Step 4: Create the S3 Bucket
Apply the configuration:
kubectl apply -f s3bucket.yaml
and here is the manifest:
apiVersion: s3.aws.upbound.io/v1beta1
kind: Bucket
metadata:
  name: tekanaid-crossplane
  labels:
    testing.upbound.io/example-name: s3
spec:
  forProvider:
    region: us-east-1
    tags:
      foo: bar
---
apiVersion: s3.aws.upbound.io/v1beta1
kind: BucketOwnershipControls
metadata:
  name: tekanaid-crossplane
spec:
  forProvider:
    bucketSelector:
      matchLabels:
        testing.upbound.io/example-name: s3
    region: us-east-1
    rule:
      - objectOwnership: BucketOwnerPreferred
Step 5: Verify Resource Status
Check the status of the resource claim to ensure the S3 bucket has been successfully provisioned:
kubectl get bucket
Upon successful provisioning, you should see the following output:
NAME                  READY   SYNCED   EXTERNAL-NAME         AGE
tekanaid-crossplane   True    True     tekanaid-crossplane   11m
Below you can see the S3 bucket is created in the AWS Console.

Step 6: Verify Drift Correction
Now delete the bucket from the AWS console and wait some time for crossplane to recreate the bucket.
Run the command below to see the status of the bucket:
kubectl describe bucket
Step 7: Cleanup
Now when ready to delete the bucket run the command below:
kubectl delete -f s3bucket.yaml
Demo Wrap-up
In this demo, we walked through the process of creating an AWS S3 bucket using Crossplane. This showcases how Crossplane facilitates cloud resource provisioning through a declarative API, abstracting the complexities of individual cloud providers and providing a unified, Kubernetes-native interface for cloud infrastructure management. We also saw how Crossplane automatically detected and corrected drift.
This was a very simple example, in future blog posts we will see how to further abstract some complexities of the resources offered by cloud providers. Take another look at the diagram below from the Crossplane documentation that we shared earlier. Notice the delineation between the platform engineering team and the developer team. This separation of roles is very helpful in building an internal developer platform for your organization. Stay tuned for more on this in future blog posts!
Conclusion
Crossplane emerges as a potent catalyst in the realm of cloud infrastructure management, offering a seamless avenue to orchestrate resources across diverse cloud providers. By extending the Kubernetes API, it unfurls a coherent narrative of infrastructure management that’s both declarative and consistent. The comparative insights between Crossplane and Terraform underline the unique advantages the former brings to the table, especially for organizations already entrenched in Kubernetes ecosystems. The hands-on demo of provisioning an AWS S3 bucket was a testament to the simplicity and agility ingrained in Crossplane’s DNA, showcasing real-time reconciliation in action.
As cloud complexities continue to increase, the need for tools like Crossplane that simplify and streamline cloud infrastructure provisioning and management becomes paramount. The journey through Crossplane’s core components and capabilities not only illuminates its robust framework but also invites us to explore and deploy Crossplane in our environments. It’s more than just a tool—it’s a step towards a more manageable, declarative cloud infrastructure paradigm. The Crossplane community awaits, ready to assist as we embark on this expedition to simplify and accelerate our cloud infrastructure endeavors.
Suggested Reading
- What Is Backstage: Your Ultimate Guide To Streamlining Developer Tools
- Unlocking Developer Bliss: A First Look At Backstage.io
- Unlock Hidden Perks in Your Backstage Software Catalog
Code
Hi and Welcome!
Join the Newsletter and get FREE access to all my Source Code along with a couple of gifts.